At some point of using Azure, you would end up needing to use the Azure Logic App. For this post, we did not Google out anything, so to be honest, we don’t know what exactly a logic App is, but we have used it to send over emails or to connect to share point. In this post, we are talking about connecting to a blob storage and the ways to set up your logic app for that.
The most basic of the steps are –
- go to portal.azure.com We hope you have a subscription.
- In the search bar, type in logic app and it would take you some page like –
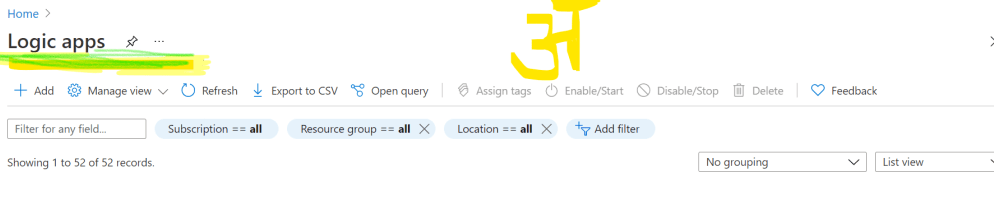
3. Click on Add and it will take you to a wizard which helps in creating the logic app. We hope that you know your subscription and resource group. Click on next until you finally create the logic App.
4. One thing to know is that logic app is not part of Azure data factory, it is a different resource altogether. So, like we have adf and then the data lake or synapse. On similar lines. Well, the reason I am explaining this is because once you click on create for the logic app, you would see on the right hand side, deployment is in progress. Wait until the logic App is deployed.
5. Once you get past this step, open your logic app, and you would find page like
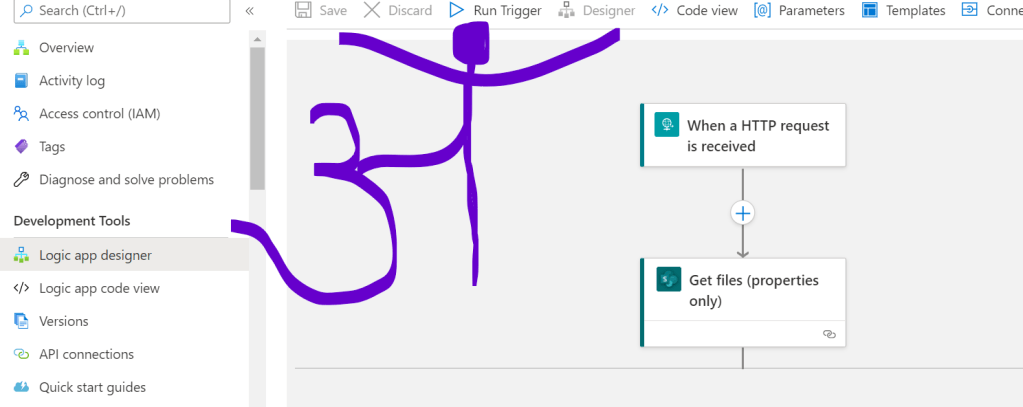
6. This page, the one that you see above is your main page. It is in this that you design your logic app, click on overview to find if there is an error, give the logic App access or well, do about anything with your logic app.
7. The http that you see next to our logo, is the connector between ADF and your logic app. So, well you can trigger your logic app independently as well, but mostly we call the logic app from a pipeline of ADF. this is done because after all, we would need to execute a step from a series of steps or based on some condition. ADF is the orchestration tool that azure provides. You can consider this as your workflow designer.
8. If you click on the http, you will find option to set your parameter, the url is automatically setup and will be used to pass on the adf. we cannot show you the images for this, for security reasons. Hope that you would understand this way. In the parameter section, you need to type in the parameters that you would be passing from adf. This has to be done using json format. An example –
{ “properties”: { “ArchivePath”: { “type”: “string” }}} You can add as many values you wish.
9. It is in the http activity, that the user has to enter the blob storage they want to connect. In authorization, we suggest you go for

Honestly, it all depends on how your system in built in. Most likely it will be using managed identity. We hope that all of this you achieved.
Coming to the main part of this blog. Well, you have set up your logic app and connected it correctly to your azure blob storage. But, then what next? Do you think this would be enough to run it? The answer is NO. Honestly, it won’t. You might get the following errors –
- Your logic app does not have managed identity enabled.
- You are not authorized to or you are forbidden.
HOW TO SOLVE THESE ERROR?
Enable Managed Identity for the Logic App
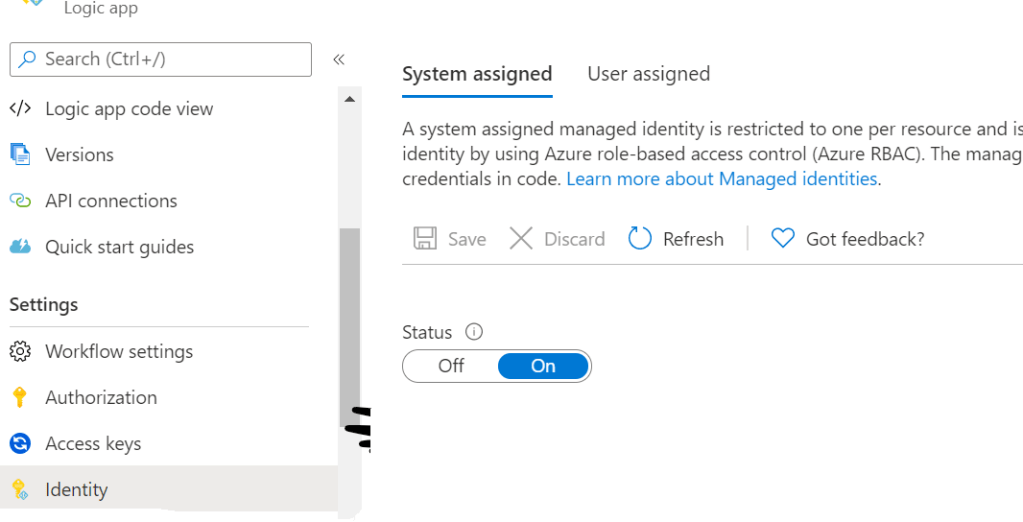
In the main page of your logic App scroll down on the left side pane, you will find something called “Identity”. Click on that, and then click on the status slider. Make sure it is on.
Blob Forbidden error
Okay so you built your logic app, you gave it managed identity, so now it is part of your azure active directory, but does your blob knows it exist? NO. It does not knows it at all. You need to make it aware. To do that-
- Open your blob storage
- Go to IAM
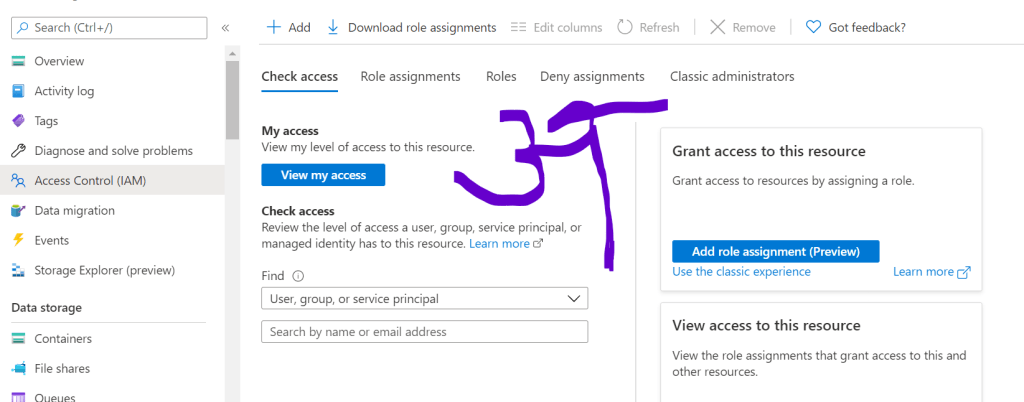
When you click on your storage account, this is the first page that you get in. On clicking upon, the right hand side slider, IAM, the above mentioned page would appear.
3. When you click on the add button, you will get something like below. On the right hand side, you get the given box. It is in this, that one has to decide the role, the resource to be given access to etc. 
4. If you want that the logic app should be able to access the blob storage, the role assigned is of Storage Blob Data Contributor. You need to assign access to the logic app and then select your logic app. Save your changes and that is it.
Note – It is important that you open the managed identity of your logic app before you assign the role. This is because until the managed identity is open, the logic app would not be part of your active directory and hence would not show up in your select search bar.
We hope that you enjoyed this content, that it solved your problem.
Happy Learning 🙂

Leave a comment